Table of Contents
요즘 서버들은 Apache보다는 Nginx 웹서버를 많이 사용하는 것 같습니다. 그렇게 느낀 이유는 간혹 커스텀 notfound 페이지를 설정해 놓지 않은 페이지들이 있는데, nginx default notfound 페이지를 노출하는 경우를 많이 봤기 때문입니다.
사실 apache보다 nginx를 사용하는 이유는 분명합니다. 아무래도 가장 큰 이유는 요청처리 방식 때문인데, apache의 경우 multi-thread 기반의 요청처리 방식을 가지고 있고, nginx의 경우 event-driven 기반의 요청 처리 방식을 가지고 있기 때문입니다.
OS 별로 nginx 설치
이번 글에서는 macOS, centOS, ubuntu에서 각각 nginx를 설치하고 실행시키는 방법에 대해서 소개해보도록 하겠습니다.
macOS에서 nginx 설치하기
macOS에 nginx를 설치하려는 경우는 아무래도 개발용 PC에서 웹서버를 띄워야하는 상황인데요. 바로 알아보도록 하겠습니다.
우선, 맥에서 nginx를 설치하는 가장 간단한 방법은 Homebrew를 이용하는 방법입니다.
위 링크에도 나와 있지만, 터미널에 다음과 같은 명령어를 입력하면 Homebrew를 설치할 수 있습니다.
/bin/bash -c "$(curl -fsSL https://raw.githubusercontent.com/Homebrew/install/master/install.sh)"
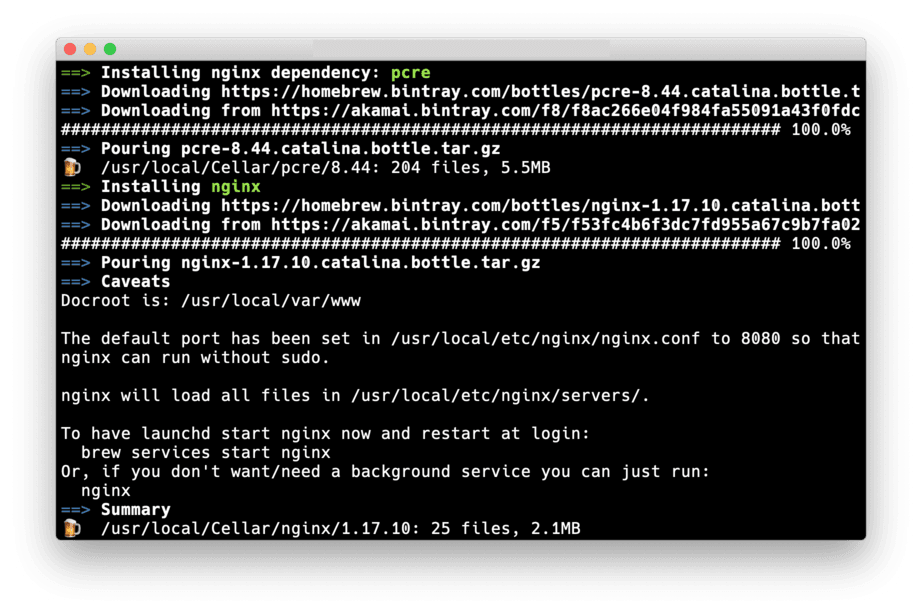
- Homebrew로 nginx 설치
brew install nginx
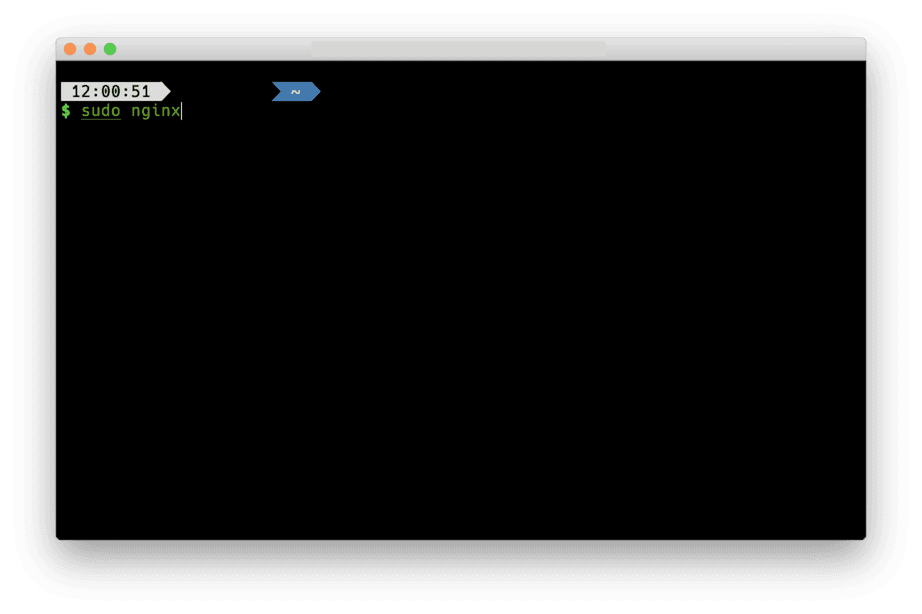
- Mac에서 nginx 웹서버 실행
sudo nginx
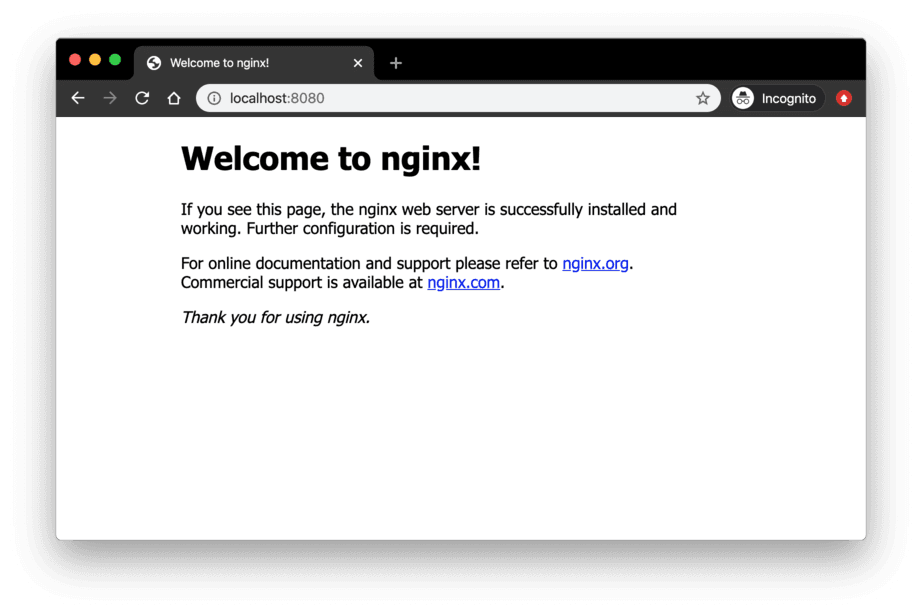
브라우저 주소창에 localhost:8080 입력 및 이동하여 웹서버가 정상적으로 동작하는지 테스트 할 수 있습니다.
- nginx 웹서버 종료
sudo nginx -s stop
예시
- Homebrew로 nginx 설치
-
sudo nginx명령어 입력 - 브라우저로
http://localhost:8080접근


CentOS에서 nginx 설치하기
CentOS에서 nginx를 설치하는 가장 간단한 방법은 yum이라는 패키지 매니저를 사용하는 것입니다.
하지만 nginx는 epel-release라는 repository에 포함되어 있습니다. 따라서 다음과 같은
명령어로 epel-release라는 repository를 추가해줍니다.
sudo yum install epel-release
- yum으로 nginx 설치
sudo yum install nginx
- CentOS에서 nginx 웹서버 실행
sudo systemctl start nginx
CentOS에서 웹서버가 잘 동작중인지 확인하는 세 가지 방법
- 명령어로 웹서버 상태 확인하기
sudo systemctl status nginx
- curl로 확인
curl "http://localhost:8080"
그리고 마지막 방법은 외부에서 서버로 접근하는 방법인데요, 이 경우 CentOS의 방화벽을 public으로 설정해줘야합니다.
설정 방법은 다음과 같습니다.
sudo firewall-cmd --permanent --zone=public --add-service=http
sudo firewall-cmd --permanent --zone=public --add-service=https
sudo firewall-cmd --permanent --zone=public --add-port=8080/tcp
sudo firewall-cmd --reload
- CenOS에서 nginx 웹서버 종료
systemctl stop nginx
설정 이후 http://{your-server-ip}:8080으로 접근하여 확인할 수 있습니다.
Ubuntu에서 nginx 설치하기
Ubuntu에서 nginx를 설치하는 가장 간단한 방법은 CentOS와 비슷하게 apt-get이라는 패키지 매니저를
이용하는 것입니다.
- apt-get으로 nginx 설치
sudo apt-get install nginx
- ubuntu에서 nginx 웹서버 실행
sudo systemctl start nginx
Ubuntu에서 웹서버가 제대로 실행되는지 확인하는 세 가지 방법
- 명령어로 웹서버 상태 확인하기
sudo systemctl status nginx
- curl로 확인
curl "http://localhost:8080"
우분투의 경우, 방화벽 포트를 활성화하려면 ufw와 iptables를 이용하여야 합니다. 하지만
ufw의 경우 apt-get으로 따로 설치해야합니다.
- ufw 설치 및 방화벽 포트 활성화
sudo apt-get install ufw
sudo ufw allow 3306
- iptables를 이용하여 방화벽 포트 활성화
sudo iptables -A INPUT -m state --state NEW -m tcp -p tcp --dport 8080 -j ACCEPT
각 OS 별 nginx 시작, 재시작, 중지, 상태 명령어 모음
각 OS 별로 nginx의 명령어의 형태가 약간씩 다릅니다. OS 별 명령어를 정리해서 소개해드리려고 합니다.
MacOS
# start
sudo nginx
brew services start nginx

# restart
sudo nginx -s reload
brew services restart nginx

# stop or quit(graceful shutdown)
sudo nginx -s stop #quit
brew services stop nginx

# status - not supported
CentOS 및 Ubuntu
# start
sudo service nginx start
sudo systemctl start nginx
sudo /etc/init.d/nginx start

# restart
sudo service nginx restart
sudo systemctl restart nginx
sudo /etc/init.d/nginx restart

# stop
sudo service nginx stop
sudo systemctl stop nginx
sudo /etc/init.d/nginx stop

# status
sudo service nginx status
sudo systemctl status nginx

# reload configuration
sudo service nginx reload
sudo systemctl reload nginx
sudo nginx -s reload
맺음
이렇게 각 OS별로 Nginx 설치하는 방법에 대해서 알아보았습니다. 궁금한 점이나 글에 이상한 점이 있다면 댓글 부탁드리겠습니다.
감사합니다.